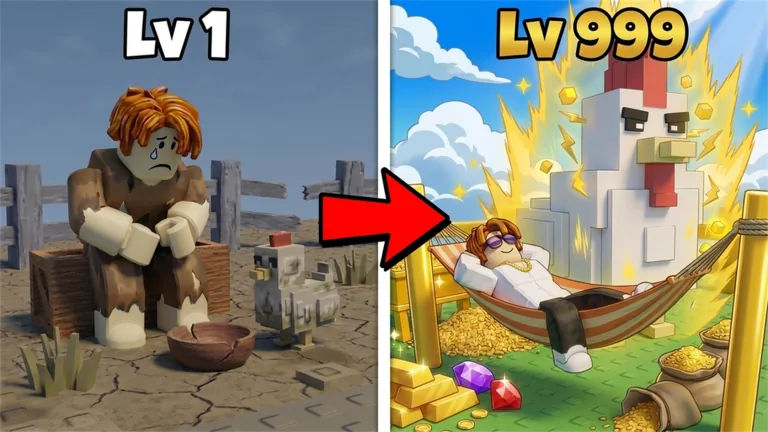
How boss fights work in Grow a Chicken Fighter
Boss encounters are a damage race, not a reaction test. Your chickens attack automatically, so the outcome is decided before the fight starts by three things: the total damage your team outputs, whether the damage is concentrated on the boss, and whether a boost is active while the timer runs. Everything else — animation timing, tapping the screen, swapping pets mid-fight — is noise.
That single insight changes how you should prepare. Instead of asking “how do I beat this boss?” the better question is “what is my single-target damage, and how do I raise it this week?” Boss walls exist to force that upgrade, and a wall you cannot pass is usually a signal to stop attacking and start improving your carry.
Build a single-target roster, not a display cabinet
The most common reason players stall is spreading investment evenly across many chickens. Boss health scales faster than a broad roster can keep up with, so damage that is split between six average fighters loses to damage that is stacked into one strong fused carry. The practical build order is:
- Nominate one carry. Pick the highest-attack fighter you own and commit. Every trait, every level and every fusion donor goes to it first.
- Lock the right trait. Damage and attack traits compound a carry far more than raw rarity does — see how fusion and trait locking work.
- Time the run to a boost. Stack a money or damage boost for the push window; a boost is the cheapest temporary damage you will ever get. Redeem current codes before a serious attempt.
- Rebirth when you stall. A permanent multiplier beats grinding the same failed floor — the rebirth guide covers the timing.
Encounters by stage
Rather than publish fixed per-floor health numbers — those are tuned by the developer and change between patches — it helps to think of the TOWER as three difficulty stages, each testing a different skill.
Early floors
Learning phaseFocus: Understanding the fight loop
The first boss walls are there to teach the loop: your chickens attack on their own, so your job is to keep the roster alive and stacked rather than to mash anything. Any coordinated early roster clears these — the value is learning how boss health scales so you stop over-investing in one bird.
Strategy: Run the strongest three or four fighters you already own, keep a boost active and treat the first clears as free progression currency. Do not spend a big egg budget here.
Mid floors
Roster checkFocus: Single-target damage
Mid bosses are the point where a scattered “best of everything” roster stops working and concentrated damage wins. These fights reward focusing your investment into one or two carry chickens instead of spreading levels across a wide bench.
Strategy: Pick one high-attack carry, feed it the strongest traits you have and let the rest of the team support. This is the stage where fusion starts to pay off for real.
Late floors
Endgame wallFocus: Fusion, traits and preparation
The deepest bosses are fusion-gated: they expect locked damage traits and a rebuilt roster, not just higher numbers. Clearing them is less about luck and more about having done the prep — rebirths for permanent multipliers, a fused carry, and a boost window timed for the push.
Strategy: Only attempt a deep push with a boost active and after a fresh round of rebirths. If a floor stalls you, stop and improve the carry rather than retrying the same fight over and over.
On exact numbers
We deliberately do not publish fixed boss HP or drop tables as permanent facts. The developer retunes difficulty with updates, and a hard-coded number goes stale fast. Verify the current values in-game and treat anything you read elsewhere — including older versions of this page — as patch-specific rather than permanent.
Common mistakes that wipe runs
- Spreading levels across the whole roster. It looks safe and it loses every boss check. Concentrate your damage.
- Refusing to rebirth. Grinding the same failed floor for hours is slower than a reset that raises your permanent multiplier.
- Pushing without a boost. A free code boost is often the difference between a clear and a five-second wipe.
- Rebuilding mid-run. Decide your roster and traits before you enter, so the run is a controlled test of one change.
Frequently asked questions
Do Grow a Chicken Fighter boss fights need specific chickens? The deeper TOWER and PIT walls reward concentrated single-target damage, so a fused carry outperforms a wide roster of average birds. Early floors can be cleared with whatever you already own.
What are the exact HP values of each boss? Boss health is tuned by the developer and shifts between patches, so we do not publish fixed per-floor numbers as permanent facts. Check the current value in-game and treat any figure you see elsewhere as patch-specific.
Should I rebirth before pushing tower floors? Yes. Rebirths grant permanent multipliers that make deep floors far easier, so the standard loop is rebirth first, then push with a boost active.
Why did my boss run fail even with strong chickens? Usually the damage is spread too thin, no boost was active, or the roster was rebuilt mid-run. Focus on one carry, time the push to a boost window and commit.
Related guides
Tower guide · Fusion & trait locking · Rebirth guide · Chicken roster · Working codes